homemade onion rings recipe


The Best homemade onion rings recipe
I’ve been making homemade onion rings for my family for years, and it’s always a hit. The dish is easy to make and requires minimal ingredients, but the result is a crispy and flavorful snack that’s perfect for any occasion.
My kids love helping me in the kitchen, and this recipe is a great way to get them involved in cooking. We often make it for family gatherings, and it’s always a crowd-pleaser.
The best part about this recipe is that it’s incredibly versatile – you can serve it as a side dish, use it as a topping for burgers or sandwiches, or even enjoy it as a snack on its own. I’ve also found that this recipe is a great way to get some extra veggies into my kids’ diet, as they love the crunchy texture of the onion rings.
Overall, this recipe is a staple in our household, and I’m sure it will become one in yours as well. One of the things I love about this recipe is the way the onions are coated in a light batter before being fried – it gives them a delicate crunch that’s hard to resist.
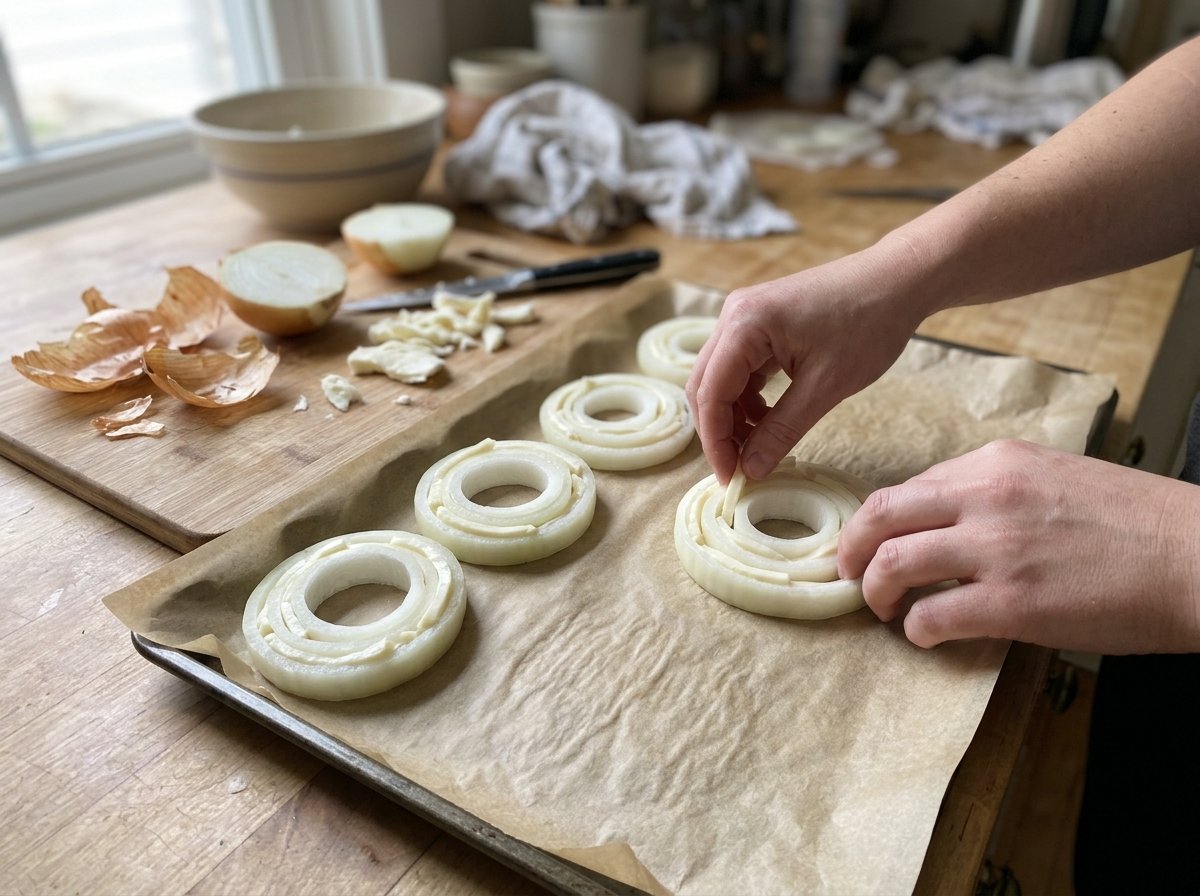
Crispy Homemade Onion Rings
Crispy and golden onion rings made from scratch. Perfect for a snack or side dish, these onion rings are coated in a crispy batter and fried to perfection.
🥘Ingredients
For the Batter
For the Onions
For Frying
👨🍳Directions
🔧Equipment
📊Nutrition Facts (per serving)
📝Notes
Watch Video Of How Crispy Homemade Onion Rings Works
One of the things I love about this recipe is how well it stores – you can easily make the batter mixture ahead of time and store it in an airtight container for up to 24 hours before using it. This makes it perfect for meal prep or when you’re short on time during the week.
When reheating leftover onion rings, simply place them in the oven at 350°F (175°C) until crispy again. You can also reheat them in the microwave by wrapping them in paper towels and heating for 20-30 seconds.
❓ Frequently Asked Questions About Crispy Onion Rings
Q1: What type of onions should I use for this recipe?
The best type of onion to use for this recipe is a sweet onion, such as Vidalia or Maui. These onions are naturally sweeter and have a milder flavor than other types of onions.
Q2: Can I use store-bought onion rings instead of making them from scratch?
While store-bought onion rings can be convenient, they often lack the flavor and texture that homemade onion rings provide. Plus, making them from scratch is relatively easy and only requires a few simple ingredients.
Q3: How do I keep my onion rings crispy after frying?
To keep your onion rings crispy after frying, it’s essential to drain excess oil from them immediately after cooking. You can do this by placing them on paper towels or a clean kitchen towel.
Q4: Can I bake these onion rings instead of frying them?
Yes, you can bake these onion rings instead of frying them. To do so, preheat your oven to 400°F (200°C) and place the onion rings on a baking sheet lined with parchment paper. Drizzle with oil and bake for 15-20 minutes or until crispy and golden brown.
Q5: How long do these onion rings keep in an airtight container?
The shelf life of these onion rings in an airtight container depends on how quickly you plan to consume them. Generally, they will stay fresh for up to 3 days at room temperature or up to 5 days when stored in the refrigerator.