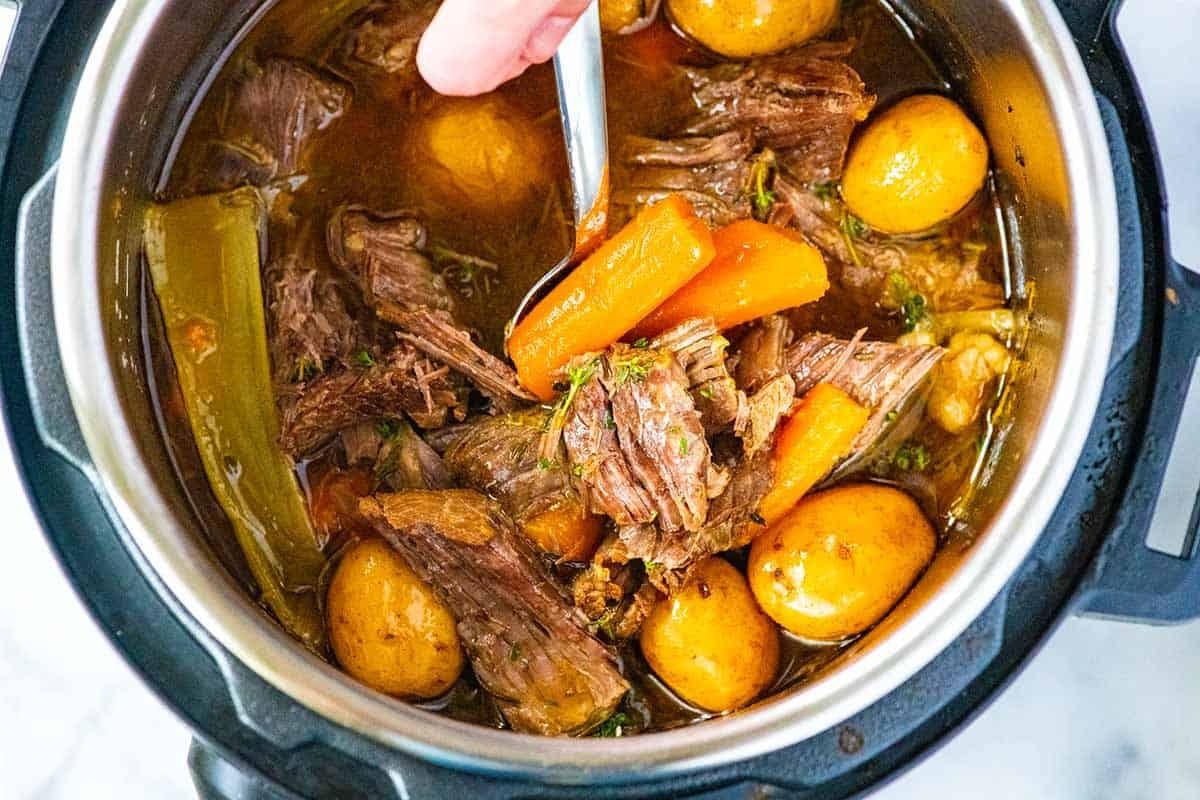
I’ve been making pressure cook roast for years, and it’s still one of my family’s favorite meals. It’s a recipe that’s easy to make and packed with flavor.
The first time I made it, I was amazed at how tender the meat was, even though I had used a tougher cut. I’ve since experimented with different seasonings and spices, but the basic recipe remains the same.
My kids love helping me in the kitchen, and they’re always excited to see what new dish we’re making. Pressure cook roast is a staple in our household, and I’m happy to share it with you.
Whether you’re looking for a quick weeknight dinner or a special occasion meal, this recipe never fails to impress. The best part is that it’s incredibly easy to make – just throw all the ingredients in the pressure cooker and let it do its magic.
My family loves it when I serve it with mashed potatoes and steamed vegetables on the side. The roast is so tender that it practically falls apart, and the flavors are amazing.
I’ve also found that this recipe works beautifully for large gatherings – just multiply the ingredients as needed and cook it in batches if necessary. My friends and family rave about this dish, and I’m confident that you will too once you try it.
Pressure Cooker Pot Roast
4.7 from 1524 votes
A tender and flavorful pot roast made in a pressure cooker. This recipe delivers a rich, savory gravy and perfectly cooked vegetables in a fraction of the time of traditional braising.
4 large carrots, peeled and cut into 2-inch pieces
3 celery stalks, cut into 2-inch pieces
1 pound baby potatoes, halved
For the Gravy
2 tablespoons cornstarch
2 tablespoons cold water
👨🍳Directions
1Pat the chuck roast dry with paper towels and season generously on all sides with salt and pepper.
2Select the saute function on the pressure cooker and heat the olive oil until shimmering, then sear the roast for 4-5 minutes per side until a deep brown crust forms.
3Remove the roast and set aside.
4Add the chopped onion and garlic to the pot and cook for 2-3 minutes, stirring frequently, until the onion is translucent and fragrant.
5Pour in the beef broth and red wine, scraping the bottom of the pot with a wooden spoon to release any browned bits.
6Stir in the tomato paste until fully dissolved, then return the roast to the pot along with the rosemary, thyme, and bay leaves.
7Lock the lid in place and set the valve to sealing, then cook on high pressure for 60 minutes.
8Once the cooking time is complete, allow the pressure to release naturally for 15 minutes, then carefully quick-release any remaining steam.
9Open the lid and add the carrots, celery, and potatoes, submerging them in the liquid as much as possible.
10Lock the lid again and cook on high pressure for an additional 10 minutes.
11Perform a quick release of the pressure, then carefully open the lid and transfer the roast and vegetables to a serving platter, tenting with foil to keep warm.
12Discard the herb sprigs and bay leaves, then set the pressure cooker to saute.
13In a small bowl, whisk together the cornstarch and cold water until smooth, then stir the slurry into the simmering liquid.
14Cook for 2-3 minutes, stirring constantly, until the gravy thickens to a glossy, spoon-coating consistency.
15Taste the gravy and adjust seasoning with additional salt and pepper if needed.
16Slice the roast against the grain into thick pieces and serve with the vegetables and gravy spooned over the top.
For a thicker gravy, use an additional tablespoon of cornstarch. Leftovers can be stored in an airtight container in the refrigerator for up to 3 days.
Watch Video Of How Pressure Cooker Pot Roast Works
Pressure cook roast is a staple in our household, and I’m confident that it will become one of your go-to recipes too. The key to this dish is using a tough cut of meat that will benefit from slow cooking – this ensures that the meat stays tender and falls-apart delicious even after hours of cooking.
You can serve pressure cook roast with a variety of sides, from mashed potatoes to steamed vegetables – just choose your favorite options and enjoy! If you’re planning ahead for a big gathering or special occasion meal, consider making pressure cook roast ahead of time – just reheat it as needed when serving.
❓ Frequently Asked Questions About Pressure Cooker Pot Roast
Q: What type of meat should I use for pressure cook roast?
A: You can use any type of beef or lamb for this recipe – just choose a tougher cut that will benefit from slow cooking. Chuck roast or rump steak work particularly well.
Q: Can I use boneless meat?
A: Yes, you can use boneless meat if you prefer – just adjust the cooking time accordingly. Bone-in meat will take longer to cook through, so be sure to check on it frequently to avoid overcooking.
Q: How long does pressure cook roast take to make?
A: This recipe is incredibly quick and easy to make – just add all the ingredients to the pressure cooker and let it do its magic. Cooking time will depend on the size of your roast, but most recipes take around 30-40 minutes total.
Q: Can I freeze pressure cook roast for later?
A: Yes, you can freeze pressure cook roast for later use – just be sure to label it clearly so you don’t forget what’s inside! Let it thaw overnight in the fridge before reheating as usual.
These frozen hash browns are a quick and easy side dish that turns perfectly golden and crispy in the oven or on the stovetop. Made from shredded potatoes and a…
This hearty dish combines tender potatoes and zucchini with a crispy, golden crust. It is a simple, one-pan meal that works as a side or a light main course….
These no bake energy bites are perfect for a quick snack or pre-workout fuel. They are packed with oats, peanut butter, and honey, and are easy to make….
This easy peach cobbler uses canned peaches and a simple batter that forms its own crust while baking. It requires minimal effort and delivers a warm, fruity de…