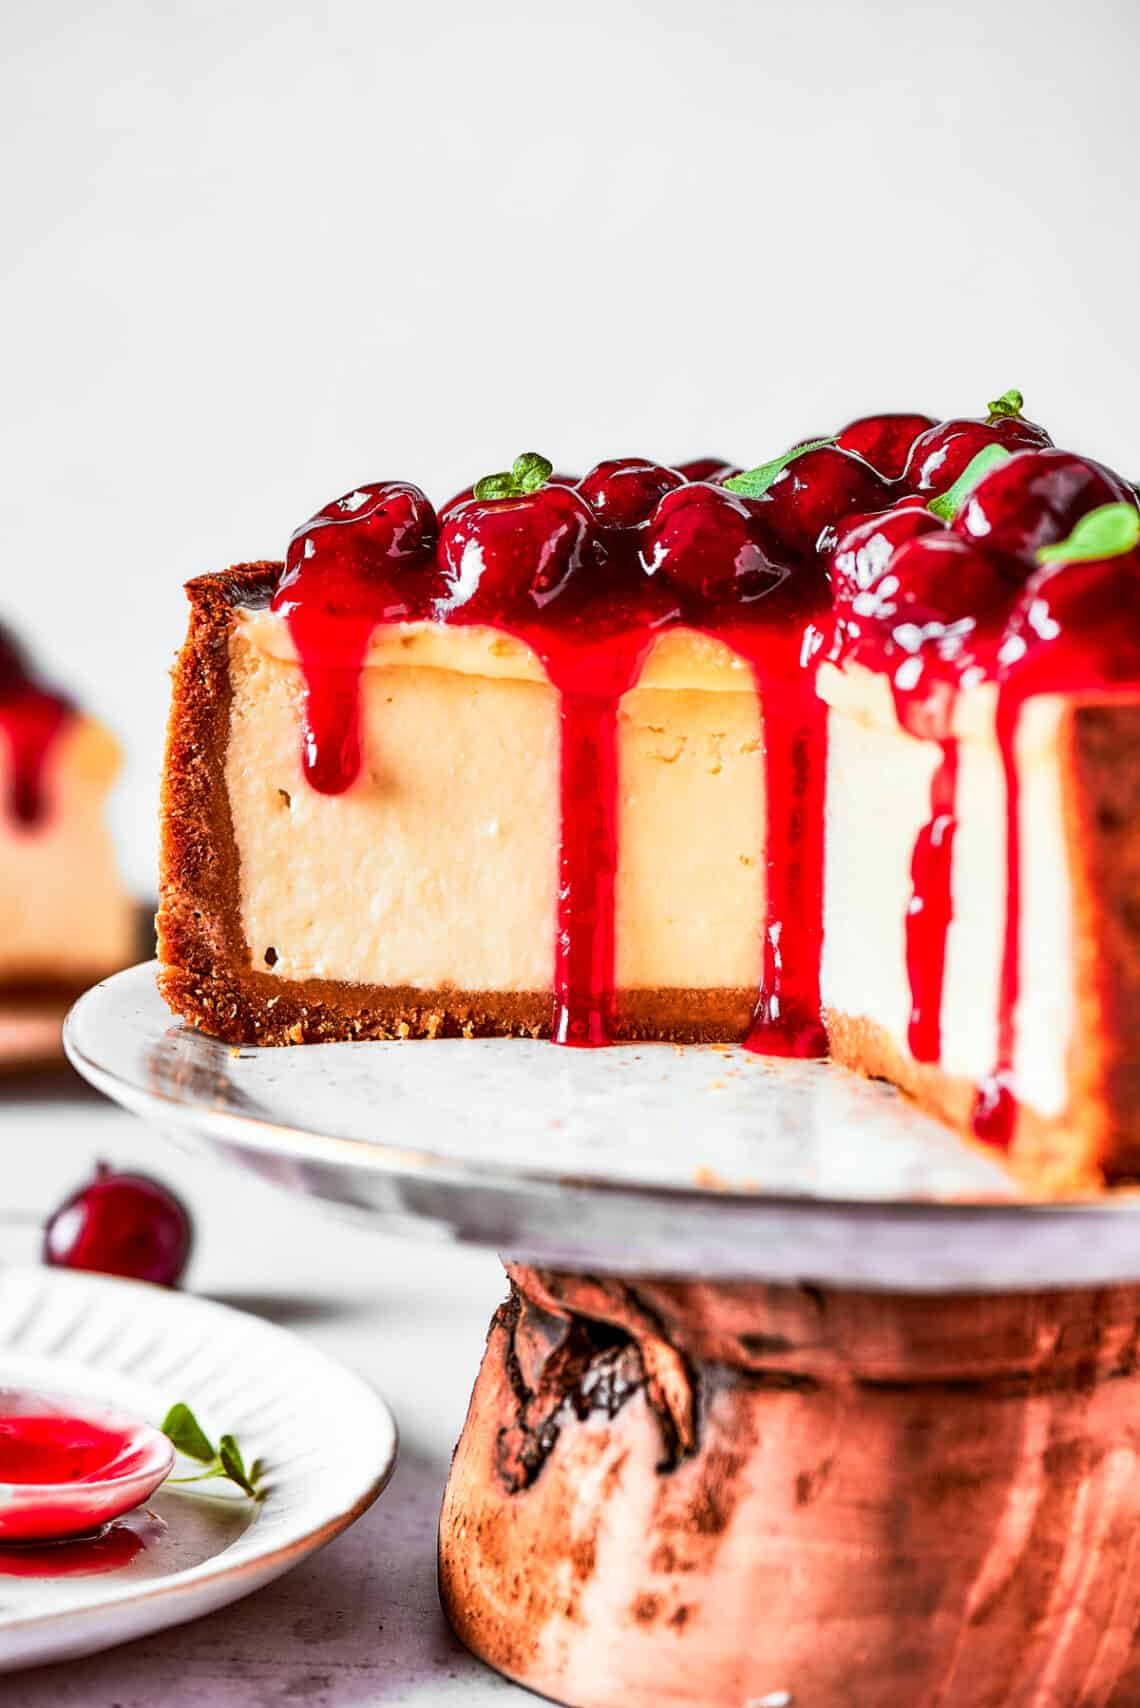
I’ve been making this cherry cheesecake recipe for years, and it never fails to impress my family and friends. The first time I tried it, I was hooked – the combination of the tangy cream cheese, the sweetness of the cherries, and the crunch of the graham cracker crust is absolute perfection.
I love how easy it is to make, too – just mix together the filling ingredients, pour them into a pre-baked crust, and bake until golden brown. And let me tell you, the aroma that fills the kitchen when it’s baking is incredible – it’s like a warm hug for your senses.
My kids adore helping me in the kitchen with this recipe – they love measuring out the ingredients and stirring the batter. It’s a great way to get them involved in cooking and teach them about measurements and mixing.
As for me, I love how versatile this recipe is – it’s perfect for special occasions like holidays or birthdays, but it’s also great for a quick dessert on a weeknight. Plus, it’s relatively healthy compared to some other desserts out there – with all that cream cheese and those juicy cherries, you’d think it would be super rich, but it’s actually pretty light.
And did I mention how easy it is to make? You can have this beauty in the oven in 20 minutes flat – that’s what I call a win-win.
Classic Cherry Cheesecake
4.7 from 1256 votes
A creamy, rich cheesecake topped with a luscious cherry compote. This dessert features a buttery graham cracker crust and a smooth, tangy filling that pairs perfectly with sweet cherries.
2In a medium bowl, combine graham cracker crumbs, 1/4 cup sugar, and melted butter until the mixture resembles wet sand.
3Press the mixture firmly into the bottom and about 1 inch up the sides of a 9-inch springform pan, using the bottom of a glass to ensure an even layer.
4Bake the crust for 10 minutes until it is lightly golden and set.
5Remove from the oven and let it cool completely on a wire rack while you prepare the filling.
6In a large mixing bowl, beat the softened cream cheese with an electric mixer on medium speed until smooth and creamy, about 2 minutes.
7Gradually add 1 cup sugar and vanilla extract, beating until well combined and no lumps remain.
8Add the eggs one at a time, beating on low speed after each addition just until incorporated.
9Do not overmix.
10Fold in the sour cream, flour, and salt with a rubber spatula until the batter is smooth and uniform.
11Wrap the bottom and sides of the springform pan with two layers of heavy-duty aluminum foil to prevent water from seeping in.
12Pour the cheesecake filling over the cooled crust and spread it evenly.
13Place the springform pan into a large roasting pan and fill the roasting pan with hot water until it reaches halfway up the sides of the springform pan.
14Bake at 350°F for 55 to 65 minutes, or until the edges are set and the center jiggles slightly when gently shaken.
15Turn off the oven, crack the oven door open, and let the cheesecake cool inside for 1 hour.
16Remove the cheesecake from the water bath, discard the foil, and let it cool completely on a wire rack at room temperature for another hour.
17While the cheesecake cools, prepare the cherry topping.
18In a medium saucepan, combine cherries, 1/2 cup sugar, cornstarch, lemon juice, and water.
19Cook over medium heat, stirring constantly, until the mixture thickens and comes to a boil, about 5 to 7 minutes.
20Reduce the heat to low and simmer for 2 minutes, stirring occasionally, until the cherries soften and the sauce is glossy.
21Remove from heat and let the topping cool to room temperature.
22Once the cheesecake is completely cool, spread the cherry topping evenly over the surface.
23Cover the cheesecake with plastic wrap and refrigerate for at least 4 hours, preferably overnight, until fully set.
For best results, use full-fat cream cheese and bring all ingredients to room temperature before mixing. To prevent cracks, do not overbeat the batter and let the cheesecake cool gradually in the oven. The cherry topping can be made a day ahead and stored in the refrigerator.
Watch Video Of How Classic Cherry Cheesecake Works
This cherry cheesecake recipe is one of my go-to desserts for any occasion – whether it’s a holiday gathering or just a Tuesday night dinner with friends. Not only does it taste amazing (if I do say so myself), but it’s also relatively easy to store and reheat when needed.
Simply wrap individual slices tightly in plastic wrap or aluminum foil and refrigerate for up to three days or freeze for up to two months. When you’re ready to serve, just thaw overnight in the fridge or reheat at room temperature until softened.
You can also top with additional fresh cherries or whipped cream if desired – either way, your guests are sure to be impressed.
❓ Frequently Asked Questions About Cherry Cheesecake
Q: What type of cherries should I use in this recipe?
A: You can use either fresh or frozen cherries for this recipe – just thaw them first if using frozen. If you want to get fancy, you can also use maraschino cherries or even dried cherries for a different twist.
Q: Can I make this recipe gluten-free?
A: Yes, you can easily make this recipe gluten-free by substituting the graham cracker crust with a gluten-free alternative or using almond flour instead.
Q: How long does this cheesecake take to bake?
A: This cheesecake typically takes about 45-50 minutes to bake, depending on your oven’s temperature and size. Keep an eye on it after 40 minutes so it doesn’t overcook.
Q: Can I use low-fat cream cheese in this recipe?
A: While low-fat cream cheese will still work in this recipe, keep in mind that it may affect the texture slightly – traditional cream cheese has a richer flavor that complements the sweetness of the cherries perfectly.
Q: Is this cheesecake suitable for vegans?
A: Unfortunately not – traditional cream cheese contains dairy products that aren’t vegan-friendly. However, you can easily substitute with a vegan cream cheese alternative or cashew-based cream cheese for a delicious vegan version.
This recipe recreates the classic Mrs. Fields chocolate chip cookie with a soft, chewy center and crisp edges. The secret is using melted butter and a combinati…
A simple and healthy side dish. Sautéed Swiss chard is quick to prepare and full of flavor. It is a great way to incorporate more greens into your diet….
These light and fluffy donuts come together in just 30 minutes using pantry staples. Baked instead of fried, they are a quick treat for breakfast or snack time….
This Mississippi sweet potato pie features a creamy, spiced filling nestled in a flaky, buttery crust. It is a beloved Southern dessert that highlights the natu…
A hearty and flavorful stew combining tender okra with ripe tomatoes. This Southern-inspired dish is perfect as a side or served over rice for a comforting meal…