crockpot baby back ribs recipe


The Best crockpot baby back ribs recipe
I have been making crockpot baby back ribs for years now, and they are a staple in our house. The slow cooker does all the hard work, turning tough ribs into tender, fall off the bone meat. I love that I can set it in the morning and come home to a dinner that smells amazing.
My kids always get excited when they see the crockpot out because they know what is coming. This recipe is perfect for busy weeknights when you want a hearty meal without standing over the stove. It also works great for weekend get togethers because it feeds a crowd with little effort.
The ribs come out juicy and full of flavor, and the sauce gets thick and sticky as it cooks. I like that I can control the ingredients and avoid all the preservatives in store bought sauces. Plus, using the crockpot means I do not have to heat up the whole kitchen, which is a bonus in the summer.
This recipe has become a go to for game days, family dinners, and even casual holidays. It is one of those dishes that makes everyone feel like they are getting a treat, but it is really simple to pull off. I have tried many versions over the years, and this one is the best for getting that perfect balance of sweet and tangy.
The ribs come out so tender that you can pull the bones out clean. It is a satisfying meal that always gets compliments, and I am happy to share it with you.
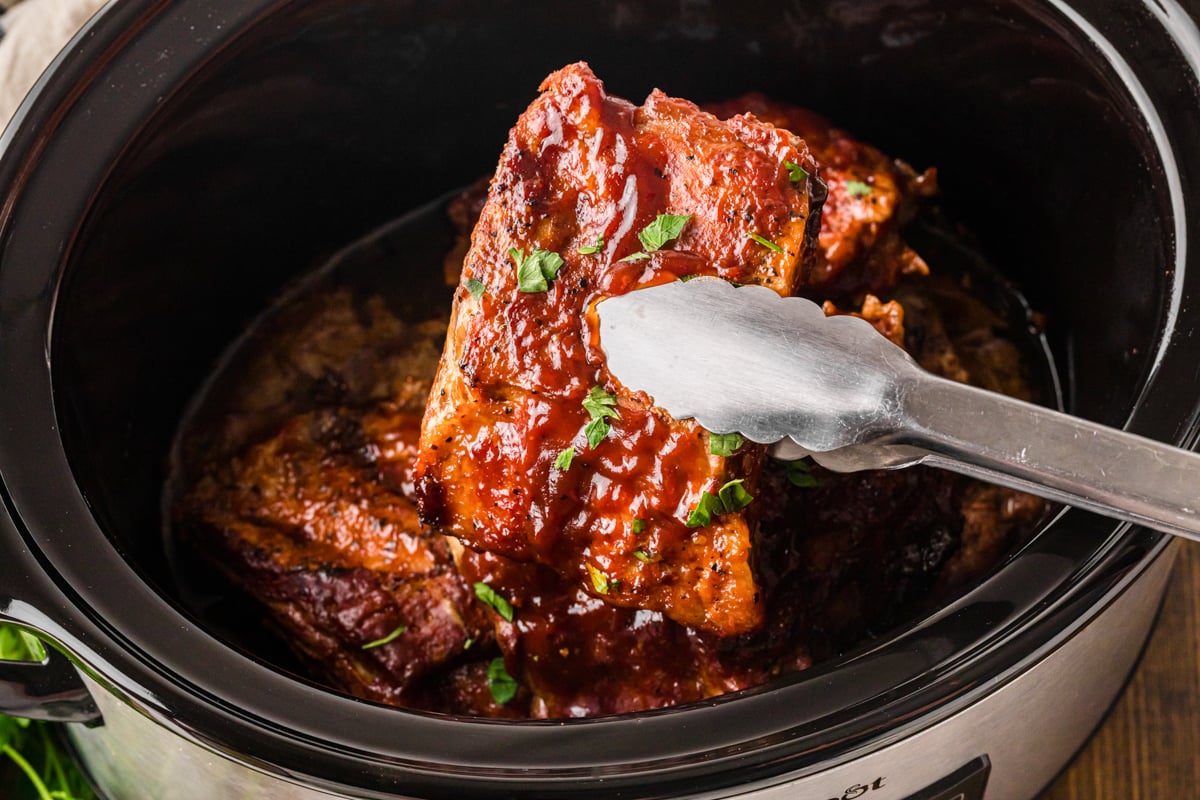
Crockpot Baby Back Ribs
These crockpot baby back ribs are fall off the bone tender with a sweet and tangy barbecue sauce. The slow cooker does all the work, making them perfect for busy days.
🥘Ingredients
For the Ribs
For the Sauce
👨🍳Directions
🔧Equipment
📊Nutrition Facts (per serving)
📝Notes
Watch Video Of How Crockpot Baby Back Ribs Works
These crockpot baby back ribs are always a good idea for any occasion. They work well for family gatherings because they are easy to make and feed a crowd without stress. I love that I can prepare them ahead and let the slow cooker do the work while I focus on other things.
For storage, let the ribs cool completely and keep them in a sealed container in the fridge for up to 4 days. To reheat, place them in a 300°F oven for about 10 minutes, or until warmed through. You can also reheat them in the microwave, but the oven keeps the meat more tender.
Serve them with coleslaw, cornbread, or baked beans for a complete meal. These ribs are perfect for game day, potlucks, or just a cozy dinner at home. They never last long in our house, and I hope your family enjoys them as much as mine does.
❓ Frequently Asked Questions About Crockpot Baby Back Ribs
1. Can I use frozen ribs in the crockpot?
It is best to thaw the ribs completely before cooking. Frozen ribs will take much longer to reach a safe temperature and may not cook evenly. Thaw them in the refrigerator overnight for the best results.
2. Do I need to remove the membrane from the ribs?
Yes, removing the membrane is important for tender ribs. The membrane can become tough and chewy if left on. It also helps the seasoning stick better to the meat.
3. How do I know when the ribs are done?
The ribs are done when the meat is very tender and easily pulls away from the bone. You can also check with a fork; it should slide in with little resistance. Cooking on low for 6 to 7 hours usually gives the best texture.
4. Can I make these ribs spicy?
Absolutely. Add cayenne pepper or red pepper flakes to the dry rub for heat. You can also use a spicy barbecue sauce or add hot sauce to the sauce mixture. Adjust the amount to your taste.
5. How do I store and reheat leftover ribs?
Store leftover ribs in an airtight container in the refrigerator for up to 4 days. To reheat, place them in a 300°F oven for 10 to 15 minutes, or until warmed through. You can also reheat in the microwave, but the oven keeps the texture better.