homemade moon pies recipe

homemade moon pies recipe

The Best homemade moon pies recipe

I have been making homemade moon pies for my family for years, and they always get a warm welcome. My kids love the combination of the crunchy cookies and the creamy filling, and my husband loves how easy it is to make them. I was first introduced to moon pies by my grandmother, who would make them for special occasions like holidays and birthday parties.

She taught me the secret to making the perfect moon pie, and I have been perfecting it ever since. The best part about moon pies is that they are easy to make and can be customized to fit any occasion. Whether you’re looking for a sweet treat for a party or a snack for a quick pick-me-up, moon pies are always a good idea.

My family loves them because they’re easy to make and can be customized to fit any occasion. I’ve even started making them for everyday snacks, like after-school treats or as a fun way to get my kids to eat their veggies. The key to making great moon pies is using high-quality ingredients and following the recipe carefully.

My grandmother taught me that the secret to making great moon pies is using high-quality ingredients and following the recipe carefully. She would always say that the cookies should be crunchy on the outside and chewy on the inside, and that the filling should be smooth and creamy. I’ve found that using real butter and high-quality chocolate makes all the difference in the world.

I’ve also experimented with different flavors, like adding nuts or dried fruit to the filling, but traditional chocolate is still my favorite. When I make moon pies, I like to think of my grandmother’s smile on her face as she handed me a freshly baked pie.
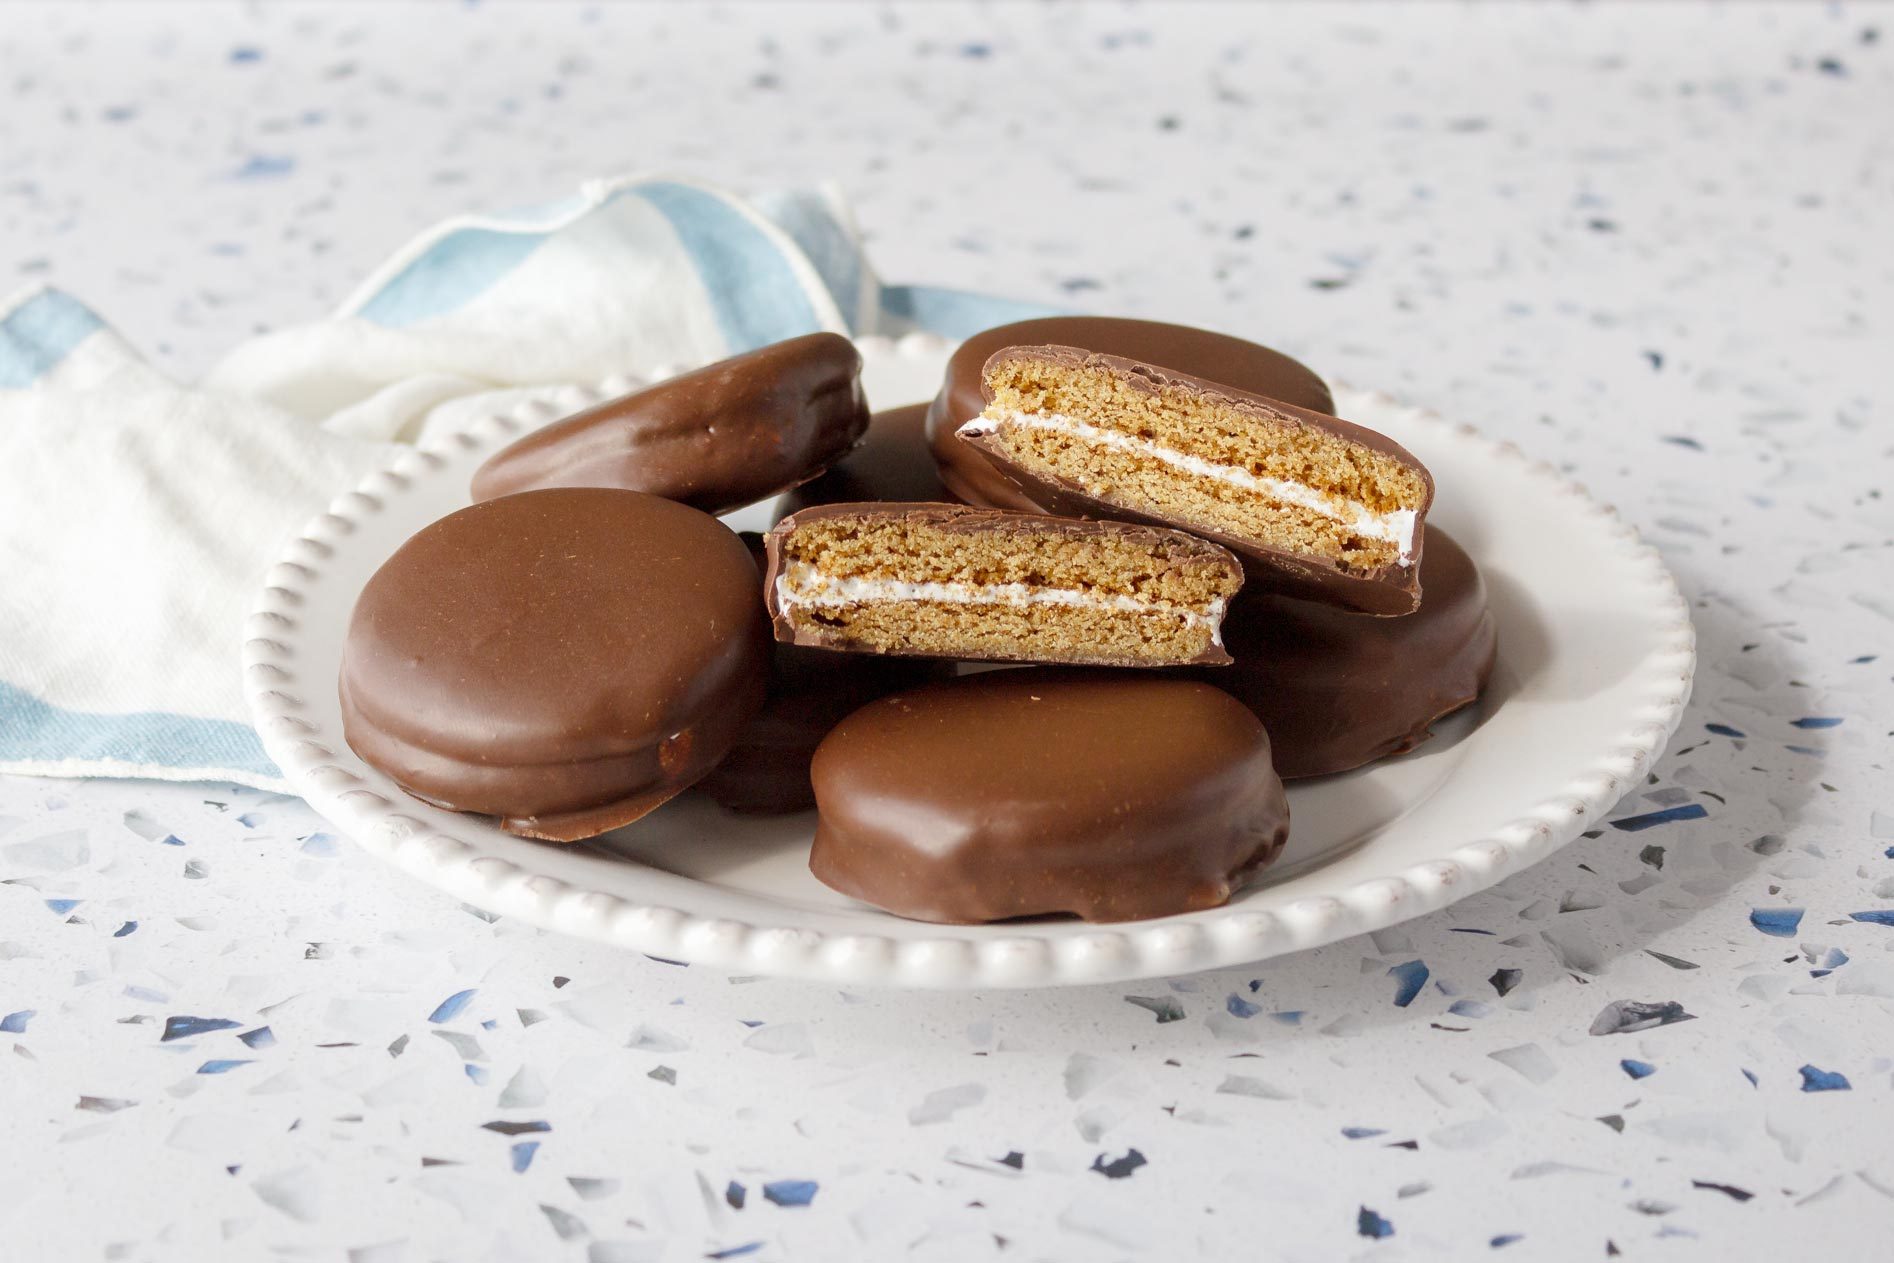
Homemade Moon Pies

Homemade Moon Pies

4.6 from 1866 votes

A classic Southern treat featuring two soft, cake-like cookies sandwiching a fluffy marshmallow filling, all enrobed in a thin layer of chocolate. This homemade version is far superior to the store-bought snack, with a tender crumb and a rich, creamy center.

Prep Time30 mins
Cook Time12 mins
Resting Time0 mins
Total Time1 hour 42 mins
Servings: 12Cuisine: InternationalCalories: 380 kcal

🥘Ingredients

For the Cookies

1/2 cup unsalted butter, softened
1/2 cup granulated sugar
1 large egg
1 teaspoon vanilla extract
1 1/2 cups all-purpose flour
1/2 teaspoon baking powder
1/4 teaspoon baking soda
1/4 teaspoon salt
1/3 cup buttermilk

For the Marshmallow Filling

1/4 cup water
1 cup granulated sugar
1/4 cup light corn syrup
2 large egg whites, at room temperature
1/4 teaspoon cream of tartar
1 teaspoon vanilla extract

For the Chocolate Coating

8 ounces semisweet or milk chocolate, chopped
2 tablespoons coconut oil or vegetable shortening

👨‍🍳Directions

1Make the cookies.
2In a large bowl, cream the softened butter and 1/2 cup sugar with an electric mixer on medium speed until light and fluffy, about 3 minutes.
3Beat in the egg and 1 teaspoon vanilla until combined.
4In a separate bowl, whisk together the flour, baking powder, baking soda, and salt.
5Add the dry ingredients to the butter mixture in three parts, alternating with the buttermilk, beginning and ending with the flour mixture.
6Mix on low until just combined after each addition.
7The dough will be soft.
8Cover and refrigerate for at least 30 minutes, or until firm enough to roll.
9Preheat the oven to 350°F and line two baking sheets with parchment paper.
10On a lightly floured surface, roll out the chilled dough to 1/4-inch thickness.
11Use a 2 1/2-inch round cutter to cut out rounds, re-rolling the scraps as needed.
12Place the rounds 1 inch apart on the prepared sheets.
13Bake for 8 to 10 minutes, until the edges are just set and the bottoms are lightly golden.
14The centers should remain pale and soft.
15Cool on the baking sheets for 2 minutes, then transfer to a wire rack to cool completely.
16Make the marshmallow filling.
17In a small saucepan, combine 1/4 cup water, 1 cup sugar, and the corn syrup.
18Cook over medium heat, stirring until the sugar dissolves.
19Then, without stirring, bring the mixture to a boil and cook until it reaches 240°F on a candy thermometer, about 5 to 7 minutes.
20While the syrup cooks, place the egg whites and cream of tartar in the bowl of a stand mixer fitted with the whisk attachment.
21Beat on medium speed until soft peaks form.
22With the mixer running on low, carefully pour the hot syrup in a thin stream down the side of the bowl.
23Increase the speed to high and beat until the meringue is thick, glossy, and holds stiff peaks, about 5 to 7 minutes.
24Beat in 1 teaspoon vanilla.
25The filling should be fluffy and stable.
26Assemble the moon pies.
27Pair the cooled cookies by size.
28Spoon or pipe a generous dollop of marshmallow filling onto the flat side of one cookie, about 1 tablespoon per pie.
29Gently press the second cookie on top, flat side down, to spread the filling to the edges.
30Repeat with the remaining cookies.
31Place the assembled pies on a baking sheet and freeze for 15 minutes to firm up the filling.
32Make the chocolate coating.
33In a microwave-safe bowl, combine the chopped chocolate and coconut oil.
34Microwave in 30-second intervals, stirring after each, until completely melted and smooth.
35Alternatively, melt in a double boiler over simmering water.
36Let the chocolate cool slightly until it is warm but not hot to the touch.
37Dip the moon pies.
38Remove the pies from the freezer.
39Using a fork or dipping tool, submerge one pie completely into the melted chocolate.
40Lift it out, allowing the excess chocolate to drip off.
41Place the coated pie on a parchment-lined baking sheet.
42Repeat with the remaining pies.
43For a smooth finish, refrigerate the dipped pies for 10 minutes, then dip a second time if desired.
44Refrigerate until the chocolate is fully set, about 20 minutes.
45Serve at room temperature for the best texture.

🔧Equipment

Electric mixer
Large mixing bowls
Baking sheets
Parchment paper
2 1/2-inch round cookie cutter
Medium saucepan
Candy thermometer
Wire rack
Fork or dipping tool

📊Nutrition Facts (per serving)

🔥Calories: 380 kcal🧈Total Fat: 16g💛Saturated Fat: 10g❤️Cholesterol: 35mg🧂Sodium: 120mg🌾Total Carbs: 58g🥦Dietary Fiber: 2g🍬Sugars: 42g🥩Protein: 4g

📝Notes

For best results, use a candy thermometer for the marshmallow filling to ensure it reaches the correct temperature. The filling will be sticky, so keep your hands lightly greased with butter or nonstick spray when handling. These moon pies keep well in an airtight container at room temperature for up to 3 days, or in the refrigerator for up to a week.

Watch Video Of How Homemade Moon Pies Works

Once your moon pies are assembled and the chocolate is set, store them in an airtight container at room temperature for up to five days. If you need to keep them longer, you can refrigerate them for up to a week, but let them come to room temperature before eating for the best texture.

To reheat, you can pop one in the microwave for about 10 seconds to soften the marshmallow, but they are also delicious cold. For serving, I like to arrange them on a platter with fresh berries or a scoop of vanilla ice cream.

They are great for family gatherings because everyone loves the combination of soft cookie, gooey marshmallow, and rich chocolate. You can even cut them into smaller pieces for a party.

This recipe is always a good idea and works well for any occasion.

❓ Frequently Asked Questions About Moon Pies

Q: What is the history of moon pies?

Moon pies are a classic American dessert that has been around since the 1920s. They were first made by a company called Moon Pie Company in Chattanooga, Tennessee, which is still producing them today.

Q: What are moon pies made of?

Moon pies are typically made with a cookie-like crust filled with marshmallow creme or other sweet fillings.

Q: Can I make moon pies at home?

Yes, you can make moon pies at home using a few simple ingredients like flour, sugar, butter, and marshmallow creme.

Q: How do I store moon pies?

You can store moon pies in an airtight container at room temperature for up to 5 days or in the fridge for up to 2 weeks.

Q: Can I freeze moon pies?

Yes, you can freeze moon pies for up to 3 months. Simply place them in an airtight container or freezer bag and thaw at room temperature when you’re ready to serve.

Q: Can I customize moon pie fillings?

Yes, you can customize your moon pie fillings by using different types of marshmallow creme or adding other ingredients like nuts or dried fruit.

Similar Posts