I’ve always been a fan of classic recipes that never go out of style, and the muffin tin popover recipe is one of them. It’s a staple in our household, and I’m excited to share it with you. The origin of this recipe is unclear, but its simplicity and ease of preparation make it a favorite among home cooks. I remember trying it for the first time at a family gathering, and it was love at first bite.
The combination of flaky pastry, crispy exterior, and savory flavors is unbeatable. My kids adore helping me prepare the popovers, and they’re always eager to devour them as soon as they’re done. The best part? This recipe is incredibly versatile – perfect for breakfast, brunch, or even as a side dish for dinner.
The technique involved is straightforward, yet yields impressive results. Simply mix the dough, pour it into muffin tins, and bake until golden brown. The result is a delicious treat that’s sure to please even the pickiest eaters. One of the things I appreciate most about this recipe is how easy it is to customize to your taste preferences.
Want a more savory flavor? Add some chopped herbs or grated cheese to the batter. Craving something sweet? Try adding a drizzle of honey or maple syrup on top before serving.
The possibilities are endless! As a busy mom, I appreciate how quickly these popovers can be prepared and devoured by my family. It’s a great way to get everyone around the table together and enjoy some quality time while sharing a delicious meal.
Classic Muffin Tin Popovers
4.8 from 1653 votes
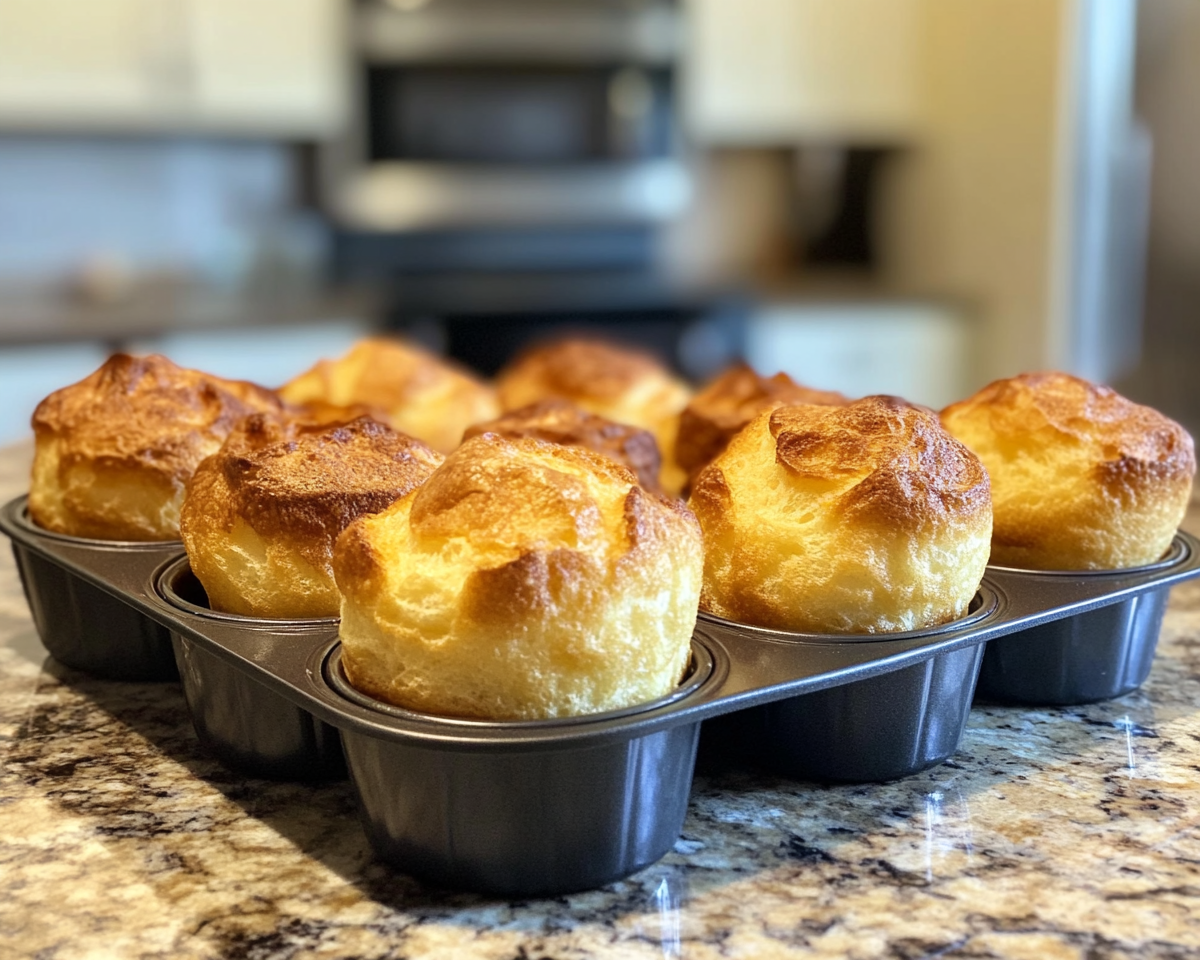
These popovers are light, airy, and golden brown with a crisp exterior and a soft, custard-like interior. Baked in a muffin tin, they rise dramatically to create a delicious and impressive side dish or breakfast treat.
1 tablespoon unsalted butter, melted, plus more for greasing the tin
👨🍳Directions
1Preheat your oven to 450°F (230°C).
2Place the empty muffin tin in the oven while it preheats for at least 5 minutes so the tin becomes very hot, which is essential for the popovers to rise properly.
3In a medium mixing bowl, whisk together the flour and salt until combined.
4In a separate liquid measuring cup or small bowl, whisk together the room-temperature milk, eggs, and melted butter until the mixture is smooth and fully incorporated.
5Pour the wet ingredients into the dry ingredients and whisk gently until just combined; a few small lumps are fine and overmixing will deflate the batter.
6Let the batter rest at room temperature for 5 minutes while you prepare the hot muffin tin.
7Carefully remove the hot muffin tin from the oven and generously grease each cup with melted butter or nonstick spray, making sure the sides are coated.
8Immediately pour the batter evenly into the 6 outer cups of the tin, filling each about halfway full, then quickly return the tin to the oven.
9Bake at 450°F for 15 minutes without opening the oven door, then reduce the oven temperature to 350°F (175°C) and continue baking for another 12 to 15 minutes.
10The popovers are done when they are puffed, deeply golden brown, and the tops feel firm to the touch.
11Remove the tin from the oven and use a small knife to immediately poke a small slit in the side of each popover to release steam and prevent sogginess.
12Serve the popovers warm, ideally within 5 minutes of baking, as they deflate quickly.
For best results, ensure all ingredients are at room temperature and do not open the oven door during the first 15 minutes of baking. You can also use a standard popover pan for taller, more dramatic popovers.
Watch Video Of How Classic Muffin Tin Popovers Works
One of my favorite things about this recipe is how easy it is to customize for any occasion. Need something quick for breakfast?
These popovers are ready in no time! Hosting dinner guests?
Add some fresh herbs or grated cheese on top for an impressive presentation. And when it comes to storage and reheating ideas – simply place any leftover popovers in an airtight container at room temperature for up to 3 days or freeze for up to 2 months.
❓ Frequently Asked Questions About Muffin Tin Popovers
Q: What’s the difference between a popover and a muffin?
A: While both are baked goods made with flour, sugar, and eggs, popovers have a few key characteristics that set them apart from muffins. Popovers typically have a lighter texture and are more tender in the center than muffins. They also tend to be larger in size and have a more pronounced rise when baked.
Q: Can I make these popovers gluten-free?
A: Yes, you can easily adapt this recipe to use gluten-free flours such as almond flour or coconut flour. However, keep in mind that gluten-free flours may require slightly different liquid ratios and baking times.
Q: How do I ensure my popovers don’t stick to the muffin tin?
A: To prevent sticking, make sure your muffin tin is properly greased with butter or cooking spray before adding the dough mixture.
Q: Can I freeze these popovers for later use?
A: Yes, you can freeze both the dough mixture before baking or individual cooked popovers for up to 2 months. Simply thaw at room temperature or reheat in the oven when ready.
Q: What if I want to add some extra flavorings like garlic or herbs?
A: Feel free to get creative with your flavorings! Simply mix in your desired herbs or spices into the dough mixture before pouring it into the muffin tin.
These mince pies use ready-made puff pastry and jarred mincemeat for a quick and simple holiday treat. They come together in under 30 minutes with minimal effor…
A rich and creamy garlic alfredo sauce made with butter, heavy cream, and Parmesan cheese. This quick sauce coats pasta beautifully and is ready in under 15 min…
A comforting and hearty casserole featuring crispy hash browns, a creamy sauce, and a cheesy topping. This classic dish is perfect for breakfast, brunch, or a s…
This oven baked pork loin recipe features a succulent pork loin with a crispy exterior and an aromatic herb and garlic seasoning. It’s perfect for a family din…