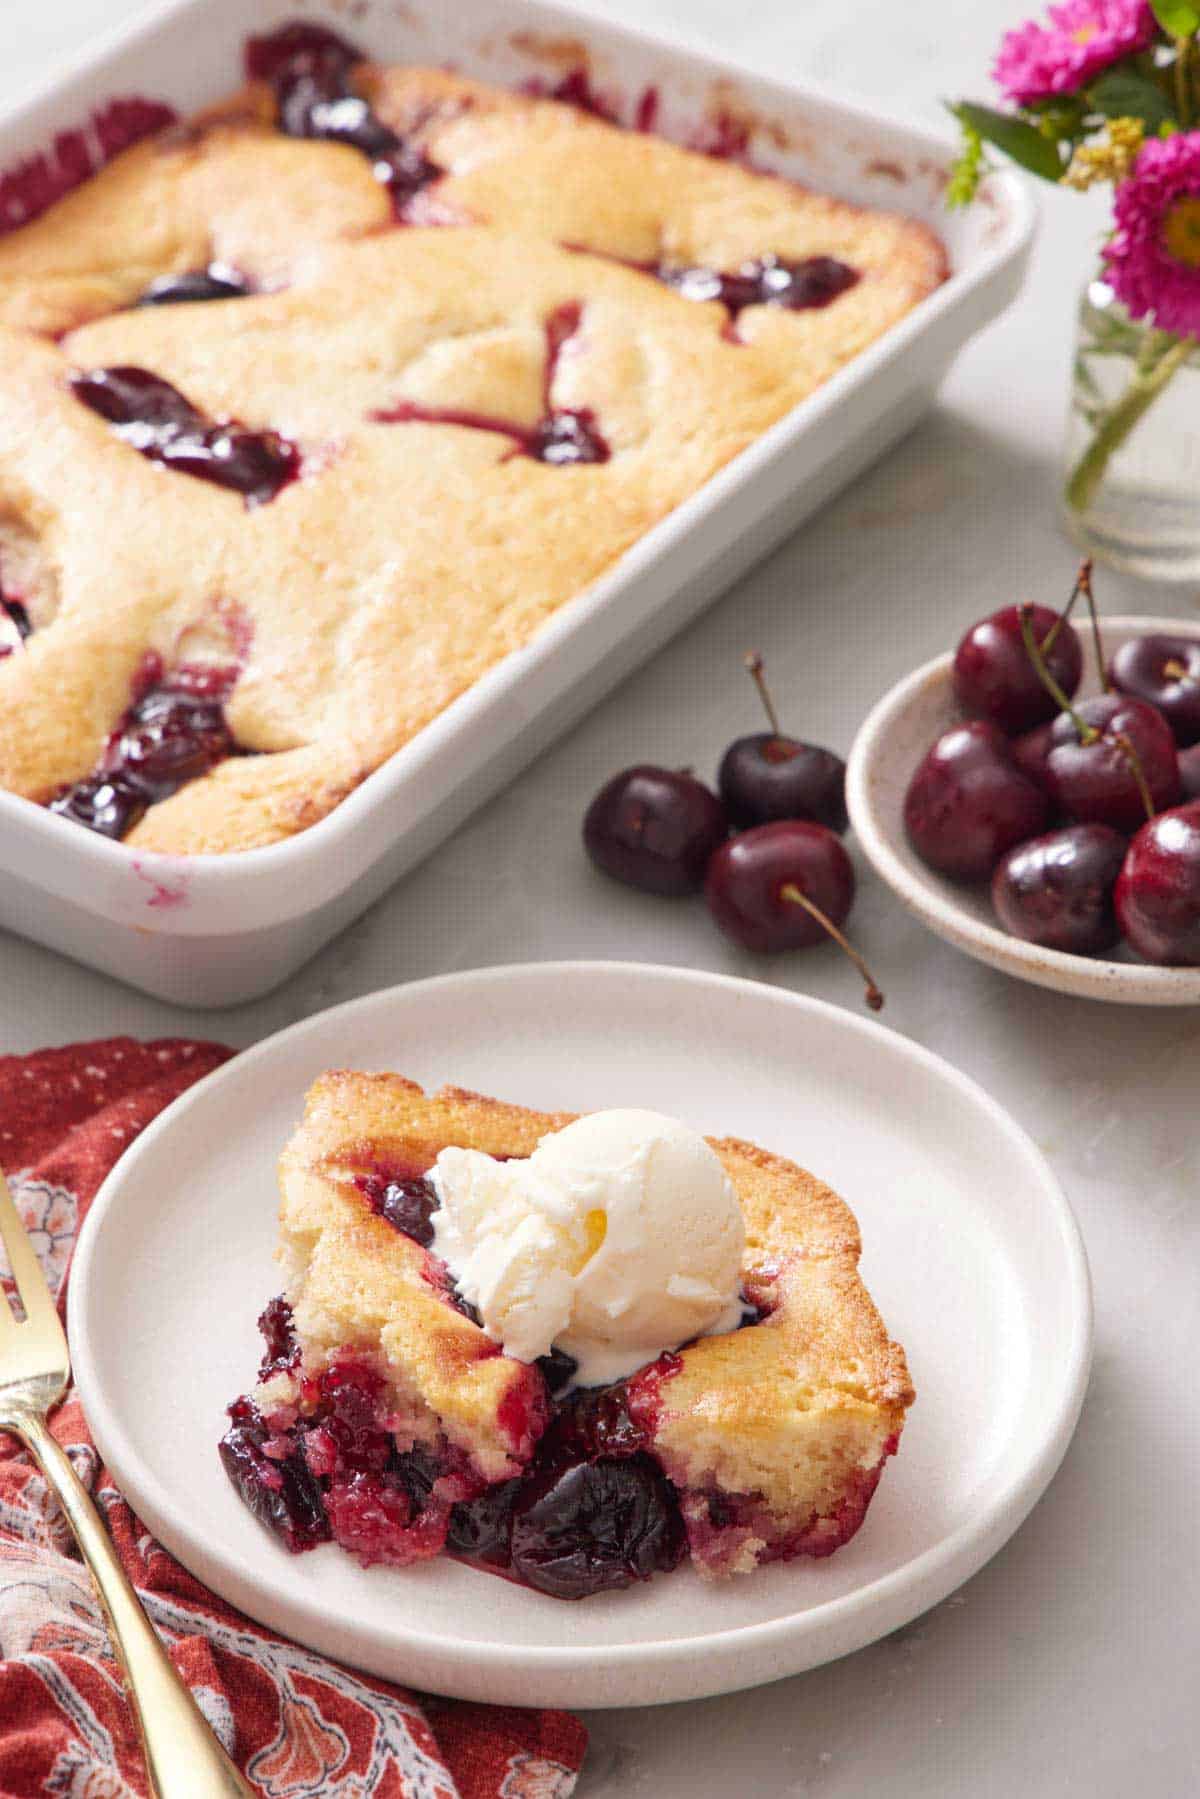
This simple cherry cobbler features a sweet, juicy cherry filling topped with a buttery, golden biscuit crust. It comes together quickly with pantry staples and is perfect for a comforting dessert any night of the week.
1/4 cup cold unsalted butter, cut into small cubes
1/2 cup whole milk
👨🍳Directions
1Preheat your oven to 375°F (190°C).
2In a medium mixing bowl, combine the cherries, 1/2 cup sugar, cornstarch, lemon juice, and vanilla extract.
3Stir gently until the cherries are evenly coated and the mixture looks glossy.
4Pour the cherry filling into an ungreased 9-inch baking dish and spread it into an even layer.
5Set the dish aside while you prepare the topping.
6In a separate bowl, whisk together the flour, 1/4 cup sugar, baking powder, and salt.
7Add the cold butter cubes and use a pastry blender or fork to cut them into the flour mixture until it resembles coarse crumbs with some pea-sized butter pieces remaining.
8Pour the milk into the flour-butter mixture and stir with a spatula just until a soft, shaggy dough forms.
9Do not overmix; the dough should be slightly sticky but hold together.
10Drop spoonfuls of the dough evenly over the cherry filling, leaving small gaps for steam to escape.
11The dough will spread as it bakes, so it does not need to cover every bit of fruit.
12Place the baking dish on a rimmed baking sheet to catch any drips.
13Bake for 25 to 30 minutes, or until the topping is golden brown and the cherry filling is bubbling around the edges.
14A toothpick inserted into the topping should come out clean.
15Remove the cobbler from the oven and let it cool on a wire rack for at least 10 minutes before serving.
16This allows the filling to set slightly.
17Serve warm, optionally with vanilla ice cream or whipped cream.
If using frozen cherries, do not thaw them first; add them directly to the filling mixture. For a richer topping, substitute half the milk with heavy cream. Store leftovers covered in the refrigerator for up to 3 days and reheat in a 350°F oven until warm.
Watch Video Of How Simple Cherry Cobbler Works
This simple cherry cobbler is always a good idea for any occasion because it is easy to put together and pleases just about everyone. I often make it for family gatherings because it pairs well with ice cream or whipped cream and it feels like a real treat without being fussy.
If you have leftovers, cover the dish and store it in the fridge for up to four days. To reheat, pop it in a 350 degree oven for about 10 minutes or microwave individual servings for 30 seconds.
You can also serve it cold straight from the fridge which is surprisingly good. For a fun twist, try adding a handful of blueberries or raspberries to the cherry filling.
This cobbler is versatile enough to work for a summer barbecue, a holiday dinner, or just a Tuesday night dessert when you need something warm and comforting.
❓ Frequently Asked Questions About Cherry Cobbler
1. Can I use frozen cherries for this cobbler?
Yes, frozen cherries work very well. You can use them straight from the freezer without thawing. Just increase the baking time by about 5 to 10 minutes and check that the filling is bubbling in the center.
2. Do I need to pit the cherries before baking?
Yes, you must pit fresh cherries before adding them to the dish. Cherry pits are hard and not pleasant to bite into. If you use frozen cherries they are usually already pitted.
3. Can I make this cobbler gluten free?
You can substitute the all purpose flour with a gluten free baking blend that includes xanthan gum. The texture may be a little more tender but it still works. Just make sure to measure carefully and do not overmix the batter.
4. How do I store leftover cherry cobbler?
Cover the dish tightly with foil or plastic wrap and keep it in the refrigerator for up to four days. To reheat, place it in a 350 degree oven for about 10 minutes or microwave individual portions for 30 seconds.
5. Can I add other fruits to this cobbler?
Absolutely. You can mix in some blueberries, raspberries, or sliced peaches with the cherries. Just keep the total amount of fruit around four cups and adjust the sugar slightly if the other fruits are very sweet.
6. Why is my cobbler topping not fully cooked in the middle?
This usually happens if the baking dish is too deep or if the fruit layer is too thick. Use a shallow 9×13 inch dish and spread the fruit evenly. Also make sure your oven is fully preheated and bake until the topping is golden brown and a toothpick inserted in the center comes out clean.
Caramel covered apples are a classic treat, perfect for fall. Crisp apples are hand dipped in a rich, creamy caramel sauce and topped with your choice of toppin…
This dish features roasted sweet potatoes with a tropical twist, coated in a sweet and savory coconut glaze with hints of ginger and lime. The caramelized edges…
This guide provides three reliable substitutes for sour cream in any recipe. Each option maintains the desired texture and tanginess, ensuring your dish turns o…
A hearty flour tortilla filled with seasoned ground beef, refried beans, and cheese, then smothered in a savory red enchilada sauce and baked until bubbly. This…
This lemon dill salmon features tender, flaky fillets baked in a bright and herbaceous sauce. The combination of fresh dill and tangy lemon creates a light yet …