squash relish canning recipe

squash relish canning recipe

The Best squash relish canning recipe

I’ve been making squash relish for years, and it’s a staple in our household. It’s a simple recipe that’s perfect for canning and storing for later use.

I love how the flavors of the squash, onions, and spices come together to create a delicious condiment that’s great on sandwiches, burgers, and hot dogs. My kids adore it, and it’s always a hit at family gatherings.

I’ve experimented with different types of squash and spices over the years, but this basic recipe remains my go-to. The key to making great squash relish is using high-quality ingredients and taking the time to cook the mixture slowly until it’s thick and syrupy.

It’s a process that requires some patience, but the end result is well worth the effort.
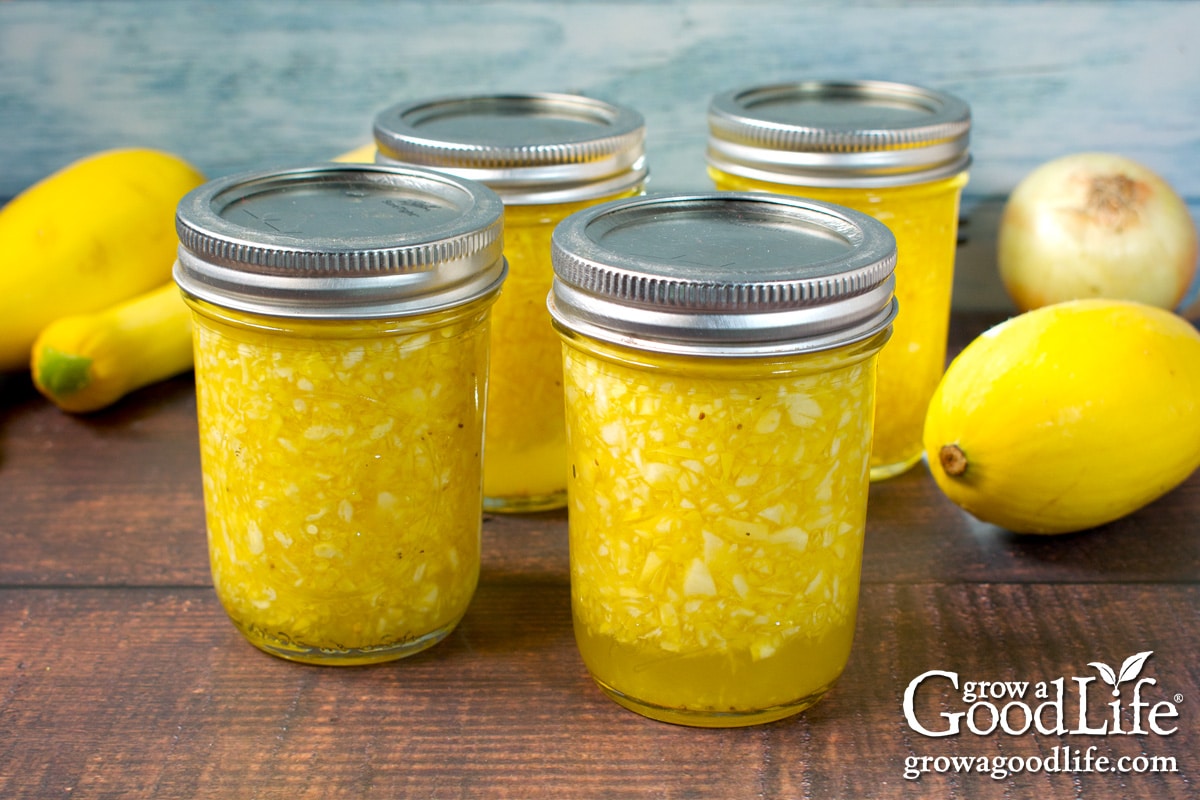
Squash Relish for Canning

Squash Relish for Canning

4.9 from 674 votes

This sweet and tangy squash relish is made with fresh summer squash, onions, and bell peppers. It is perfect for canning to enjoy year-round on hot dogs, burgers, or as a condiment.

Prep Time30 mins
Cook Time20 mins
Resting Time0 mins
Total Time50 mins
Servings: 64Cuisine: InternationalCalories: 15 kcal

🥘Ingredients

For the Relish

8 cups finely chopped yellow squash (about 2 pounds)
2 cups finely chopped onion (about 2 medium)
1 cup finely chopped green bell pepper (about 1 medium)
1 cup finely chopped red bell pepper (about 1 medium)
1/4 cup pickling salt

For the Brine

2 cups apple cider vinegar (5% acidity)
2 cups granulated sugar
1 tablespoon mustard seeds
1 teaspoon celery seeds
1 teaspoon ground turmeric
1/2 teaspoon red pepper flakes (optional)

👨‍🍳Directions

1In a large nonreactive bowl, combine the chopped squash, onion, green bell pepper, and red bell pepper.
2Sprinkle the pickling salt over the vegetables and stir to coat evenly.
3Let the mixture stand at room temperature for 1 hour to draw out excess moisture.
4Transfer the salted vegetable mixture to a cheesecloth or clean kitchen towel.
5Gather the corners and squeeze firmly over the sink to remove as much liquid as possible.
6Discard the liquid and set the pressed vegetables aside.
7In a large nonreactive pot, combine the apple cider vinegar, granulated sugar, mustard seeds, celery seeds, ground turmeric, and red pepper flakes if using.
8Bring the mixture to a boil over medium-high heat, stirring occasionally until the sugar dissolves completely, about 2 to 3 minutes.
9Add the pressed vegetables to the pot with the boiling brine.
10Return the mixture to a boil, then reduce the heat to medium-low and simmer for 10 minutes, stirring occasionally, until the vegetables are tender but still slightly crisp and the relish has thickened slightly.
11While the relish simmers, prepare your canning jars by washing them in hot soapy water and rinsing well.
12Place the jars in a water bath canner filled with water and bring to a simmer.
13Keep the jars hot until ready to fill.
14Place the lids in a small saucepan of simmering water to soften the sealing compound.
15Using a canning funnel, ladle the hot relish into the hot jars, leaving 1/2 inch headspace.
16Wipe the jar rims with a clean cloth to remove any residue.
17Place the lids on the jars and screw on the bands until fingertip tight.
18Process the jars in a boiling water bath canner for 10 minutes (adjust for altitude if necessary).
19After processing, turn off the heat and let the jars sit in the canner for 5 minutes.
20Remove the jars with a jar lifter and place them on a towel-lined counter to cool undisturbed for 12 to 24 hours.
21Check that the lids have sealed by pressing the center; it should not flex.
22Store sealed jars in a cool, dark place for up to one year.

🔧Equipment

Large nonreactive bowl (stainless steel or glass)
Cheesecloth or clean kitchen towel
Large nonreactive pot (stainless steel or enameled)
Wooden spoon
Canning jars with lids and bands (4 half-pint jars or 2 pint jars)
Water bath canner or large pot with rack
Jar lifter
Canning funnel
Clean cloth

📊Nutrition Facts (per serving)

🔥Calories: 15 kcal🧈Total Fat: 0g💛Saturated Fat: 0g❤️Cholesterol: 0mg🧂Sodium: 110mg🌾Total Carbs: 4g🥦Dietary Fiber: 0g🍬Sugars: 3g🥩Protein: 0g

📝Notes

For best results, use fresh, firm squash and do not reduce the vinegar or sugar as they are essential for safe canning. This relish can be stored in the refrigerator for up to 2 weeks if not canned.

Watch Video Of How Squash Relish for Canning Works

This recipe makes enough squash relish to fill several jars, which is perfect for stockpiling or gifting to friends and family.

I love how versatile this condiment is – it’s great on sandwiches, as a dip for veggies, or as a topping for baked potatoes.

Store your finished relish in a cool place for up to 12 months – just be sure to check on it periodically to ensure it doesn’t spoil.

❓ Frequently Asked Questions About Squash Relish for Canning

Q6: Can I add other ingredients to this recipe?

Yes, you can customize this recipe to your taste by adding other ingredients like garlic, ginger, or hot peppers.

Similar Posts