oven baked chicken fingers recipe

The Best oven baked chicken fingers recipe
I have been making oven baked chicken fingers for my family for years. They are a staple in our house because they are so easy to put together and everyone loves them. My kids used to ask for takeout chicken fingers all the time, but once I started making these at home, they never looked back. The best part is that they are baked, not fried, so I feel good about serving them for dinner or even as a snack after school.
This recipe is perfect for busy weeknights when you need something quick and satisfying. You can have the chicken fingers prepped and in the oven in about 15 minutes. They come out golden brown and crispy on the outside, with tender and juicy chicken on the inside. The coating is made from seasoned breadcrumbs and a few pantry staples, so you do not need any fancy ingredients.
I love that I can control the amount of salt and spices, making them just right for my family’s taste. One of the reasons I love this recipe is that it is healthier than the deep fried version. Baking the chicken fingers cuts down on a lot of the oil and fat, but you still get that satisfying crunch. I use whole wheat breadcrumbs sometimes for extra fiber, and the kids do not even notice the difference.
They are also a great source of lean protein, which is important for growing kids and active adults. I often serve them with a side of roasted vegetables or a simple salad for a complete meal. These oven baked chicken fingers are also perfect for gatherings. I have made them for birthday parties, game day snacks, and even holiday appetizers.
They are always a hit because they are familiar and comforting. You can dip them in ranch, honey mustard, or barbecue sauce, and everyone finds a favorite. I like to make a big batch because they disappear fast. This recipe has become a go to in my kitchen, and I am happy to share it with you.
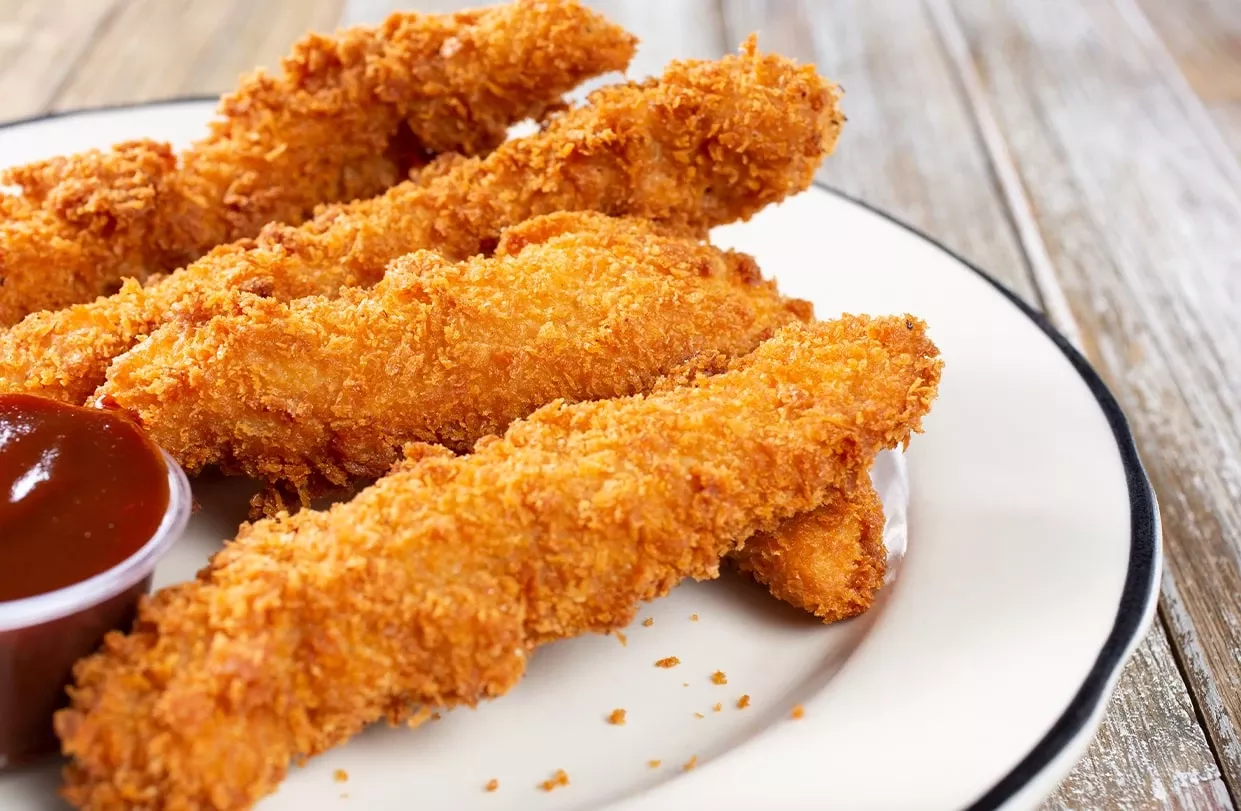
Oven Baked Chicken Fingers
These oven baked chicken fingers are crispy on the outside and tender on the inside. They are made with a simple seasoned breadcrumb coating and baked to golden perfection.
🥘Ingredients
For the Chicken Fingers
👨🍳Directions
🔧Equipment
📊Nutrition Facts (per serving)
📝Notes
Watch Video Of How Oven Baked Chicken Fingers Works
These oven baked chicken fingers are a reliable recipe that works for any occasion. They are simple to make, use basic ingredients, and always turn out delicious.
I love that I can serve them for a quick weeknight dinner or bring them to a family gathering and watch them disappear. To store leftovers, place them in an airtight container in the refrigerator for up to 3 days.
For the best texture, reheat them in the oven at 350 degrees Fahrenheit for about 5 minutes, which brings back the crispiness. You can also reheat them in an air fryer at 375 degrees Fahrenheit for 3 to 4 minutes.
Serve them with your favorite dipping sauces and a side of coleslaw or roasted potatoes for a complete meal. This recipe is a keeper in my kitchen, and I hope it becomes one in yours too.
❓ Frequently Asked Questions About Oven Baked Chicken Fingers
1. Can I use chicken thighs instead of chicken breasts?
Yes, you can use boneless skinless chicken thighs for this recipe. They will be a bit juicier and more flavorful. Just make sure to cut them into similar sized strips so they cook evenly. The cooking time may need to be increased by a couple of minutes.
2. How do I make these gluten free?
To make gluten free chicken fingers, substitute the all purpose flour with a gluten free all purpose flour blend. Use gluten free panko breadcrumbs or crushed gluten free cereal like corn flakes. Check that your Parmesan cheese is gluten free as well. The rest of the ingredients are naturally gluten free.
3. Can I freeze these chicken fingers?
Yes, these freeze very well. After baking, let them cool completely on a wire rack. Place them in a single layer on a baking sheet and freeze until solid, then transfer to a freezer safe bag or container. They will keep for up to 3 months. To reheat, bake from frozen at 375 degrees Fahrenheit for about 15 minutes, or until heated through and crispy.
4. What dipping sauces go well with these?
These chicken fingers are great with classic dips like ranch dressing, honey mustard, barbecue sauce, or ketchup. For a spicy kick, try sriracha mayo or buffalo sauce. You can also make a simple honey garlic sauce by mixing equal parts honey and soy sauce with a minced garlic clove.
5. Why are my chicken fingers not crispy?
If your chicken fingers are not crispy, it could be because the coating was not pressed on firmly enough. Make sure to press the breadcrumbs into the chicken well. Also, do not skip spraying them with oil, as this helps them brown and crisp up in the oven. Finally, avoid overcrowding the baking sheet, as this can trap steam and make them soggy.